Household backups
How I back up my Mac and iPhone photos to a UniFi NAS
Time Machine keeps a history of my MacBook files. UniFi Endpoint copies my iPhone photos and videos to the same UNAS 2. Here’s how to set up each backup and check what you can get back.
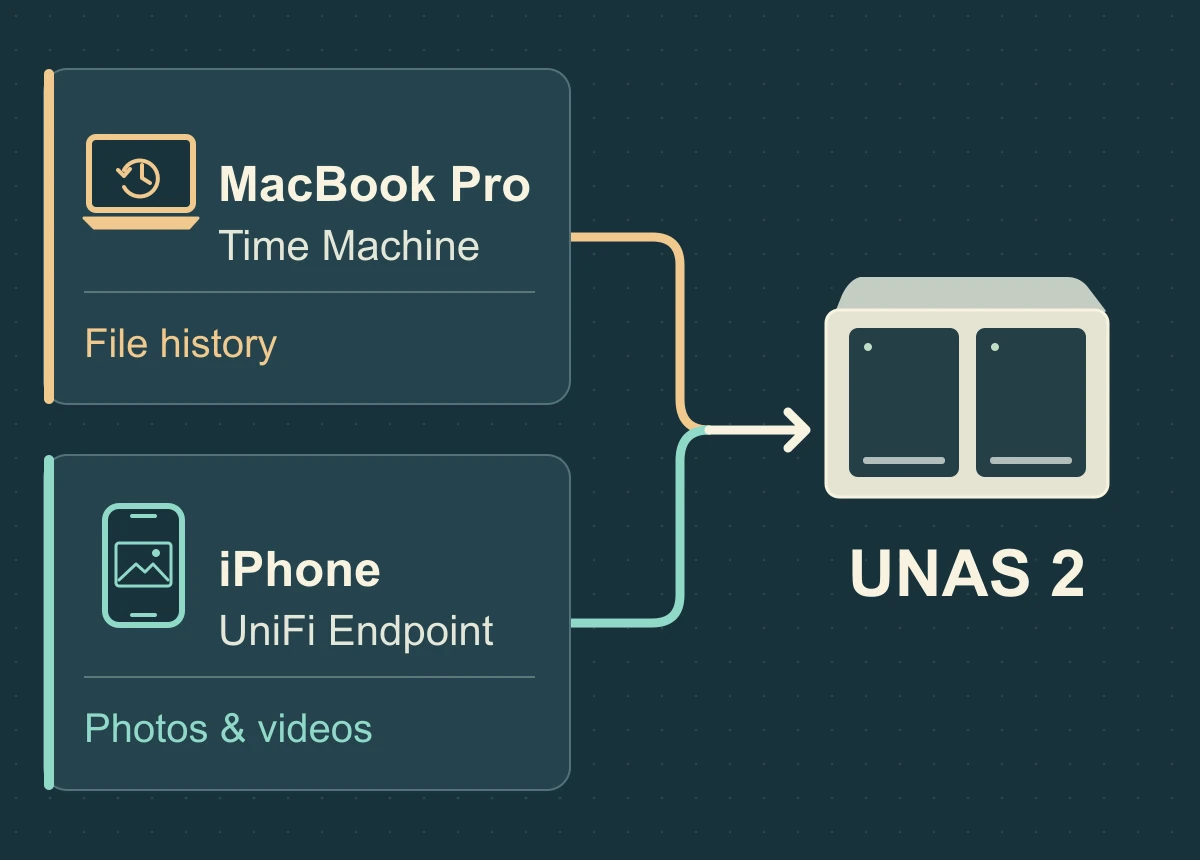
My M1 MacBook Pro and iPhone Air back up to a two-drive UniFi UNAS 2 in the office. If I overwrite a document, I want yesterday’s version from Time Machine. If I need a photo from my phone, I want an image file I can open on the Mac. The difference matters when I check whether each backup worked.
Set up Time Machine on the Mac
At my desk, the MacBook and the UNAS share a 2.5 Gb Ethernet switch. Time Machine uses SMB, the NAS’s network file-sharing service. Once the destination is set, macOS keeps dated backups while it can reach the NAS.
- Prepare the NAS. In UniFi Drive, open Settings → Services → File Services and enable both SMB and Time Machine. The UniFi user who will own the backup needs a Personal Drive.
- Set up that user’s credentials. In the UniFi user’s Settings → Assignment, enable File Services & Time Machine Credentials. Set and save the username and password you’ll use on the Mac.
- Select the destination. On the Mac, open System Settings → General → Time Machine → Add Backup Disk. Choose the UNAS by its device name if it appears twice, then enter the file-service credentials. If you choose Encrypt Backup, save the separate encryption password somewhere you can reach even if you lose the Mac.
- Check the first run. Choose Back Up Now from the Time Machine menu. When the run finishes, that menu gives the date and time of the latest completed backup.
UniFi’s Time Machine setup for UNAS · Apple’s guide to running and checking a backup
Copy iPhone photos and videos with UniFi Endpoint
UniFi Endpoint is the app on my phone. UniFi Drive is the service on the NAS that holds the copies. Endpoint’s Photo Backup saves media to the user’s Personal Drive. Restoring the apps and settings of a replacement phone is a separate job for an iPhone device backup.
- Give the phone user access. In a single-site UniFi setup, open Settings → UniFi Endpoint → Get Started if Endpoint hasn’t been configured. Assign the user access to their Personal Drive and enrol the phone in that site using the user’s invitation.
- Enable Photo Backup. Connect the iPhone to the home Wi-Fi, open Endpoint and select Photo Backup. To copy the whole photo library, grant full Photos access when iOS asks. If the Photo Backup option is missing, check the Personal Drive assignment first.
- Make the first transfer easy to observe. Leave Endpoint open on Wi-Fi while it starts. Then open the same user’s Personal Drive on the Mac and look for a recent photo. Opening the app periodically also gives a background job a chance to resume.
UniFi’s guide to Personal Drives and Endpoint · How UniFi photo backup works
When the numbers on screen look wrong
The iPhone showed 22% with about 423 GiB already on the NAS. On 19 June 2026, the photo-backup folder held 66,905 files. By 23 June, Endpoint showed 37%, and a check from the Mac returned the same file count and roughly the same size. Those readings show how much was already on disk. They leave open what Endpoint was doing between the two checks and whether every photo had arrived.
Time Machine showed around 2 MB/s on a wired connection. On 15 November 2026, while the backup was running, a separate Blackmagic test against the UNAS measured 104.2 MB/s reading and 140.5 MB/s writing. That test timed a large, continuous transfer. Time Machine also has to identify changes and handle individual files. For the backup itself, the more useful number is the time of the last completed run. The home networking article has the wider comparison.
Check one file and one photo
Here are two small checks you can run while both devices are still to hand.
- Recover a Mac document
- Create a small text file in a folder that Time Machine includes. Let a backup to the UNAS finish, then move the test file to a different folder for safekeeping. In Finder, open its original folder, open Time Machine and go back to the backup you just made. Select the file and choose Restore. Open the restored file in its original location and compare its contents with the copy you moved. Apple’s file restore instructions.
- Retrieve an iPhone photo and video
- Take a distinctive new photo and a short video. After Endpoint runs, open the Personal Drive on the Mac, download those two files into a separate folder, and open the photo and play the video. Keep the originals on the phone during the check. That gives you direct evidence about those two items, even if Endpoint still has older items in its queue.
Both backup jobs end in the same physical box. If you also want to recover after loss of the NAS itself, keep another copy of the files that matter in a separate location.
Household equipment inventory and Technology project backup checks from June and November 2026. The setup and recovery instructions draw on the Apple and Ubiquiti guides linked above.